
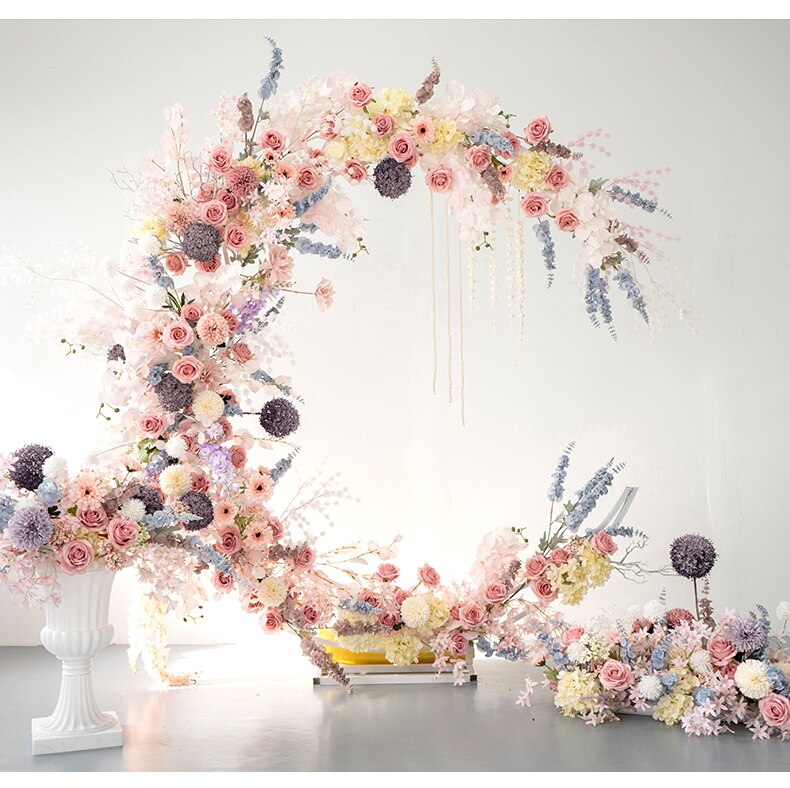
How do you make a floral photo hoop?

To make a floral photo hoop, you will need a metal hoop, floral wire, floral tape, a variety of fresh or artificial flowers, and a pair of scissors. Start by wrapping the hoop with floral tape to create a smooth surface. Then, select your flowers and trim their stems to a desired length. Use floral wire to attach the flowers to the hoop, securing them in place. Continue adding flowers until the hoop is fully covered, creating a balanced and visually appealing arrangement. Once all the flowers are attached, trim any excess wire and stems. You can also add additional greenery or ribbons for extra decoration. Finally, attach your favorite photos to the hoop using small clothespins or clips. Hang the floral photo hoop on a wall or use it as a unique centerpiece for special occasions.
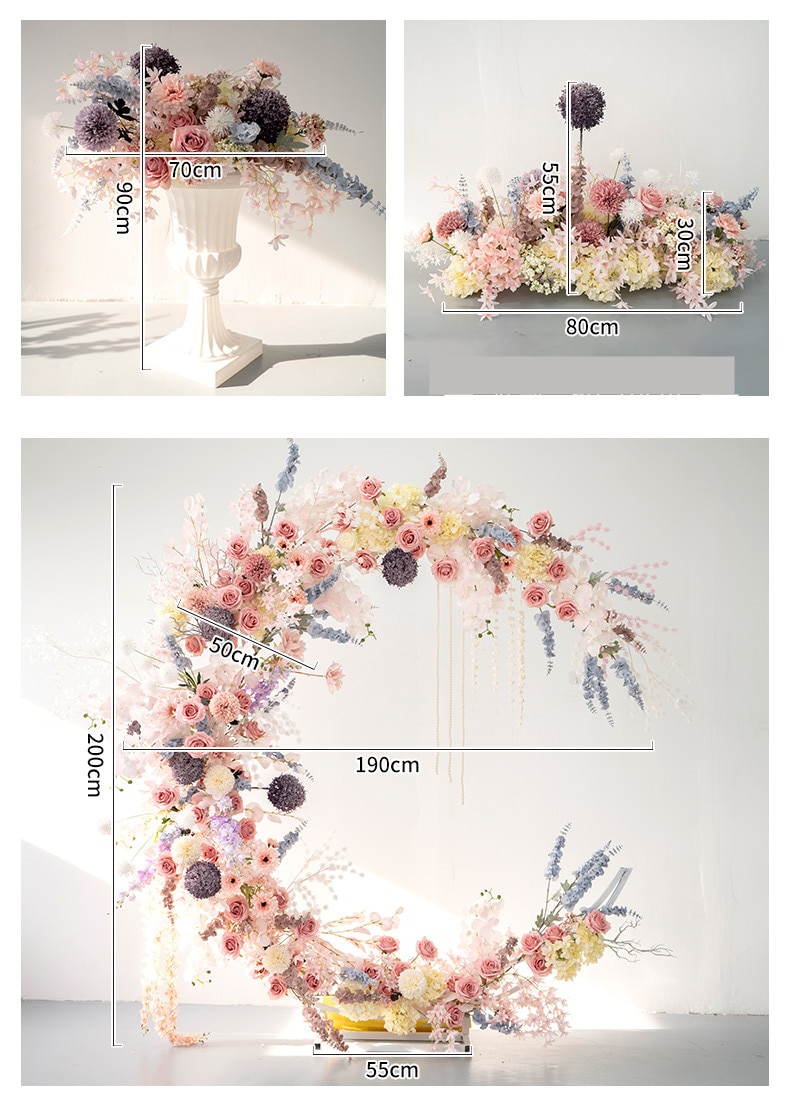
1、 Selecting the right hoop size and material for your photo hoop
To make a floral photo hoop, the first step is to select the right hoop size and material. The hoop size will depend on your personal preference and the intended use of the photo hoop. Smaller hoops, around 8-10 inches in diameter, are ideal for creating delicate and intricate designs, while larger hoops, around 12-14 inches, provide more space for a fuller and more dramatic floral arrangement.
When it comes to material, there are various options available. Traditional wooden embroidery hoops are a popular choice as they provide a natural and rustic look. Metal hoops, on the other hand, offer a more modern and sleek appearance. You can also experiment with different materials such as bamboo or rattan for a unique and bohemian touch.
In recent years, there has been a growing trend of using unconventional materials for photo hoops, such as acrylic or even copper pipes. These materials add a contemporary and artistic flair to the overall design. Additionally, some crafters have started incorporating LED lights into their photo hoops to create a magical and illuminated effect.
Ultimately, the choice of hoop size and material will depend on your personal style and the aesthetic you want to achieve. Consider the overall theme and color scheme of your floral arrangement to ensure that the hoop complements the flowers and enhances the visual impact of the final product.
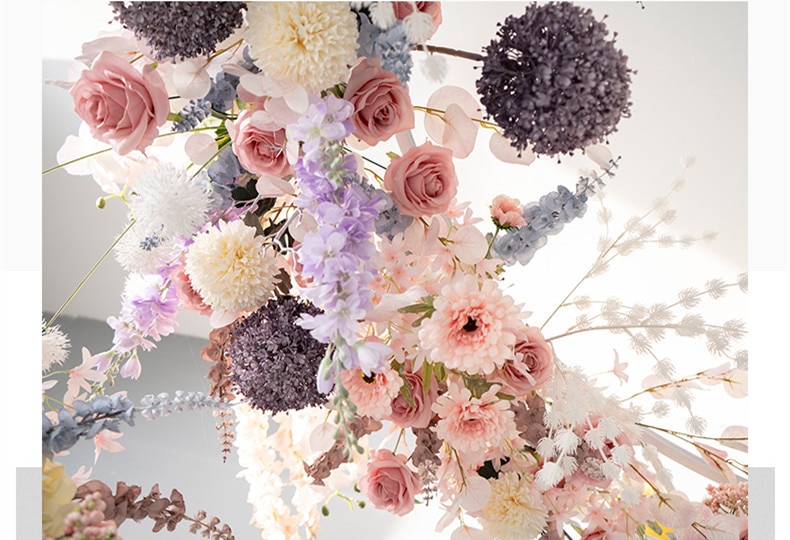
2、 Choosing the perfect flowers and greenery for your floral arrangement
To make a floral photo hoop, you will need to follow a few steps. First and foremost, choosing the perfect flowers and greenery for your floral arrangement is crucial. Consider the color scheme and theme you want to achieve. Opt for flowers that are in season and will last longer, such as roses, peonies, or daisies. Incorporate different textures and sizes to add depth and visual interest to your photo hoop.
Next, gather the necessary materials. You will need a metal or wooden hoop as the base for your arrangement. You can find these at craft stores or repurpose an old embroidery hoop. Additionally, gather floral wire, floral tape, and a pair of wire cutters.
Start by attaching the greenery to the hoop using floral wire. This will create a lush and full base for your arrangement. Once the greenery is secured, begin adding the flowers. Trim the stems to the desired length and attach them to the hoop using floral wire or tape. Be sure to distribute the flowers evenly around the hoop for a balanced look.
As for the latest point of view, incorporating dried flowers and preserved foliage has become increasingly popular in floral arrangements. These elements add a unique and long-lasting touch to your photo hoop. Additionally, consider adding personal touches such as feathers, ribbons, or even small photo frames to make the hoop truly personalized.
Remember to keep the arrangement hydrated by misting it with water regularly or placing a small water source within the hoop. This will help the flowers stay fresh and vibrant for longer.
In conclusion, making a floral photo hoop involves choosing the perfect flowers and greenery, arranging them on a hoop, and adding personal touches. Get creative and experiment with different elements to create a stunning and personalized floral arrangement that will beautifully frame your photos.
3、 Preparing and conditioning the flowers for longevity
To make a floral photo hoop, you will need to follow a few steps. One important step is preparing and conditioning the flowers for longevity. This ensures that your floral arrangement stays fresh and vibrant for as long as possible.
First, gather your desired flowers and greenery. Choose a variety of blooms that complement each other in terms of color, shape, and size. Popular choices include roses, daisies, baby's breath, and eucalyptus.
Next, remove any excess foliage from the stems of the flowers. This helps to prevent the growth of bacteria in the water and keeps the arrangement looking clean and polished. Trim the stems at an angle to allow for better water absorption.
Fill a clean container with water and add floral preservative if available. Place the flowers in the water immediately after cutting the stems to prevent air bubbles from forming in the stems, which can block water uptake.
Allow the flowers to hydrate in the water for at least a few hours, or overnight if possible. This step is crucial as it helps the flowers to regain their turgidity and ensures they stay fresh for longer.
While the flowers are hydrating, prepare the hoop by wrapping it with floral tape or ribbon. This will provide a base for attaching the flowers and greenery.
Once the flowers have been properly conditioned, start attaching them to the hoop using floral wire or hot glue. Begin with the greenery, creating a base layer to add depth and texture. Then, add the flowers, spacing them evenly around the hoop.
Remember to mist the arrangement with water regularly to keep the flowers hydrated. Display your floral photo hoop in a cool location away from direct sunlight and drafts to maximize its longevity.
In recent years, there has been a growing trend towards using dried flowers in floral arrangements. Incorporating dried flowers into your floral photo hoop can add a unique and long-lasting touch. Dried flowers require less maintenance and can be preserved for months or even years.
In conclusion, preparing and conditioning the flowers for longevity is an essential step in making a floral photo hoop. By following these steps and considering the latest trend of incorporating dried flowers, you can create a stunning and long-lasting floral arrangement that will beautifully frame your photos.
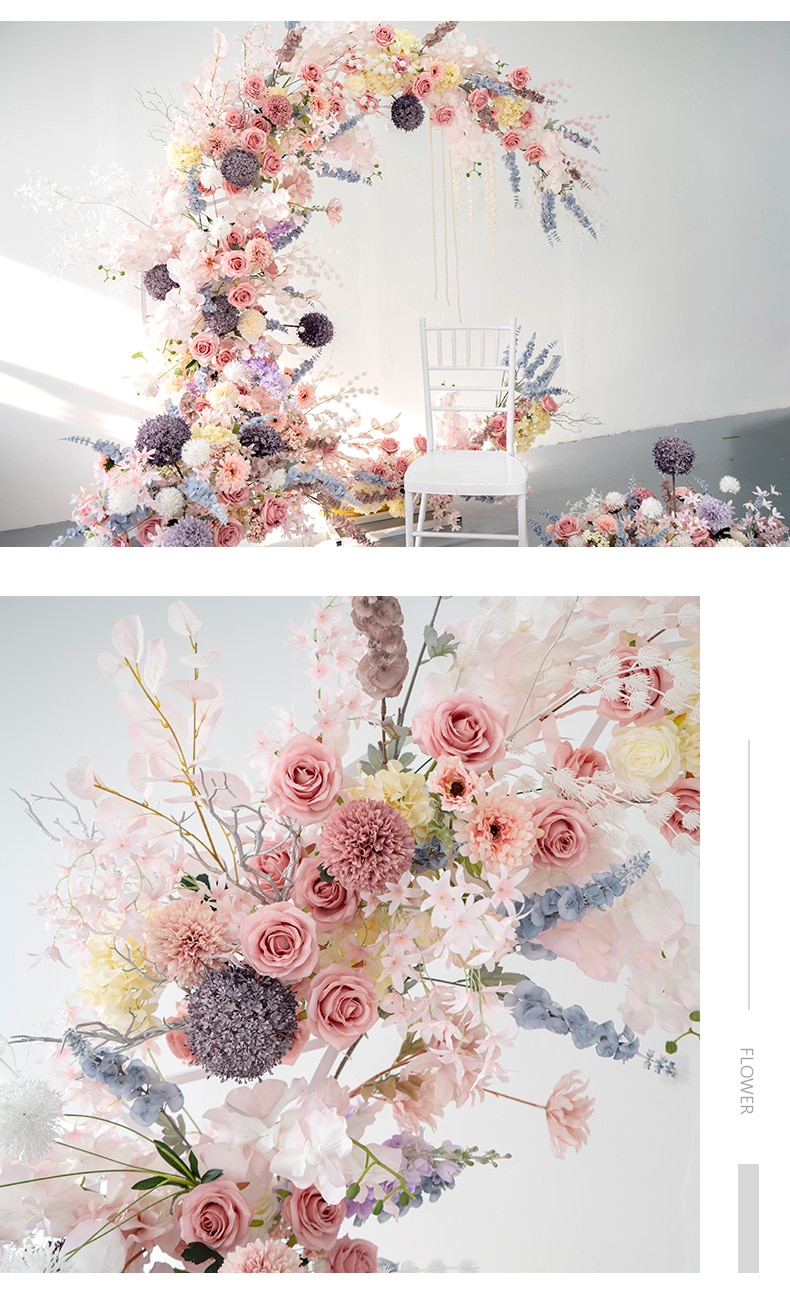
4、 Attaching the flowers to the hoop securely and aesthetically
To make a floral photo hoop, the key step is attaching the flowers to the hoop securely and aesthetically. This process involves a few simple steps that can be customized to suit your personal style and preferences.
First, gather your materials. You will need a hoop, which can be made of metal or wood, and flowers of your choice. It's important to select flowers that are sturdy and can withstand being attached to the hoop without wilting or losing their petals too quickly. Popular choices include roses, daisies, baby's breath, and eucalyptus.
Next, prepare the flowers by trimming their stems to a suitable length. You can leave some stems longer for a more natural look or trim them all to the same length for a more uniform appearance. Remove any excess leaves or thorns that may interfere with the attachment process.
To attach the flowers to the hoop, you can use floral wire, floral tape, or even hot glue. Start by positioning the first flower on the hoop and securing it in place with your chosen method. Continue adding flowers one by one, overlapping them slightly to create a full and visually appealing arrangement. Make sure to distribute the flowers evenly around the hoop to maintain balance.
As you attach the flowers, consider the color palette and overall design you want to achieve. You can create a monochromatic look using flowers of the same color or opt for a more vibrant and eclectic mix. Additionally, you may choose to incorporate other elements such as greenery, ribbons, or even small photo frames to personalize your floral photo hoop.
Finally, once all the flowers are attached, take a step back and assess the arrangement. Make any necessary adjustments to ensure the hoop looks balanced and visually pleasing. Hang it on a wall or use it as a centerpiece for events such as weddings, birthdays, or baby showers.
In recent years, there has been a growing trend of using dried flowers in floral photo hoops. Dried flowers offer a longer lifespan and can add a unique and rustic touch to the hoop. Additionally, some people have started experimenting with alternative materials for the hoop itself, such as embroidery hoops or even repurposed bicycle wheels, to create more unconventional and eye-catching designs.
Overall, making a floral photo hoop is a creative and enjoyable project that allows you to showcase your personal style and bring a touch of nature into your space.


Leave your comment