
how to put a wedding arch together?

To put a wedding arch together, start by assembling the base or stand according to the manufacturer's instructions. Next, attach the vertical posts or pillars to the base securely. Then, connect the horizontal crossbars or arches to the top of the vertical posts, ensuring they are level and stable. Once the structure is assembled, decorate the arch with flowers, fabric, or other desired embellishments. Adjust and secure the decorations in place using zip ties, floral wire, or other suitable fasteners. Finally, position the wedding arch in the desired location and make any necessary adjustments to ensure it is stable and visually appealing.
1、 Choosing the Right Wedding Arch Design
Choosing the Right Wedding Arch Design
When it comes to putting together a wedding arch, there are several factors to consider in order to create a beautiful and memorable backdrop for your special day. The wedding arch serves as a focal point during the ceremony, symbolizing the union of two individuals. Here are some tips to help you choose the right wedding arch design:
1. Consider the theme and style of your wedding: The wedding arch should complement the overall theme and style of your wedding. Whether you're going for a rustic, bohemian, modern, or traditional look, there are various arch designs to choose from that can enhance the ambiance.
2. Determine the location: The location of your wedding ceremony plays a significant role in selecting the right arch design. If you're having an outdoor wedding, consider the natural surroundings and choose an arch that blends well with the environment. For indoor weddings, you have more flexibility in terms of materials and design.
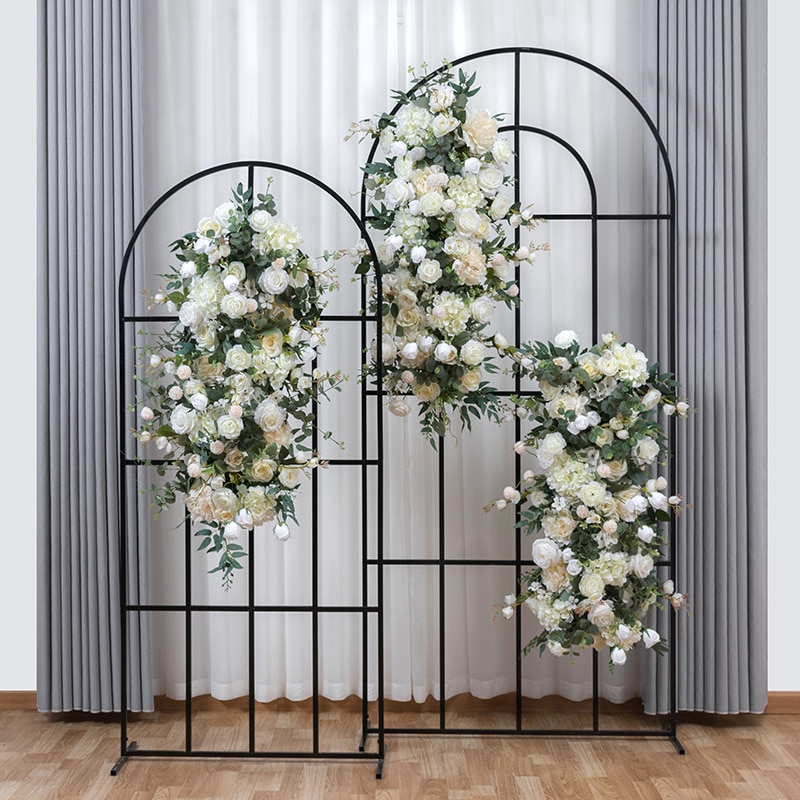
3. Select the materials: Wedding arches can be made from a variety of materials, including wood, metal, fabric, or a combination of these. Consider the durability, aesthetics, and ease of assembly when choosing the materials for your arch.
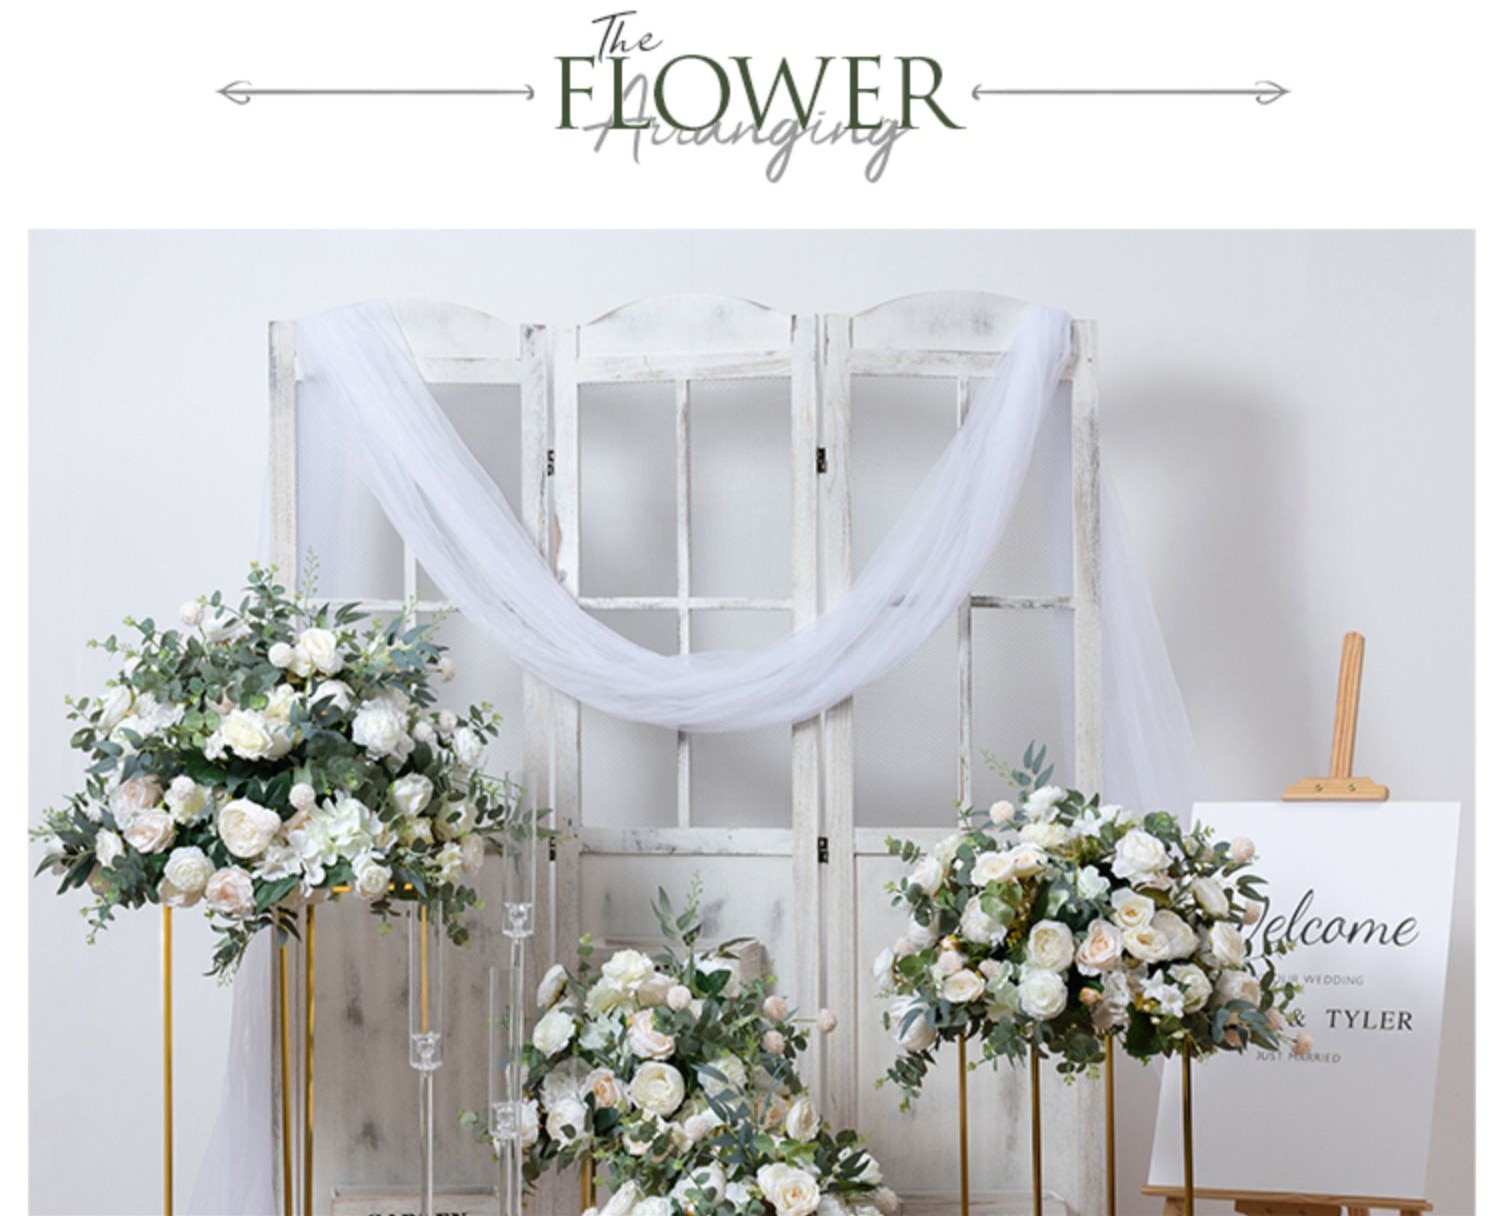
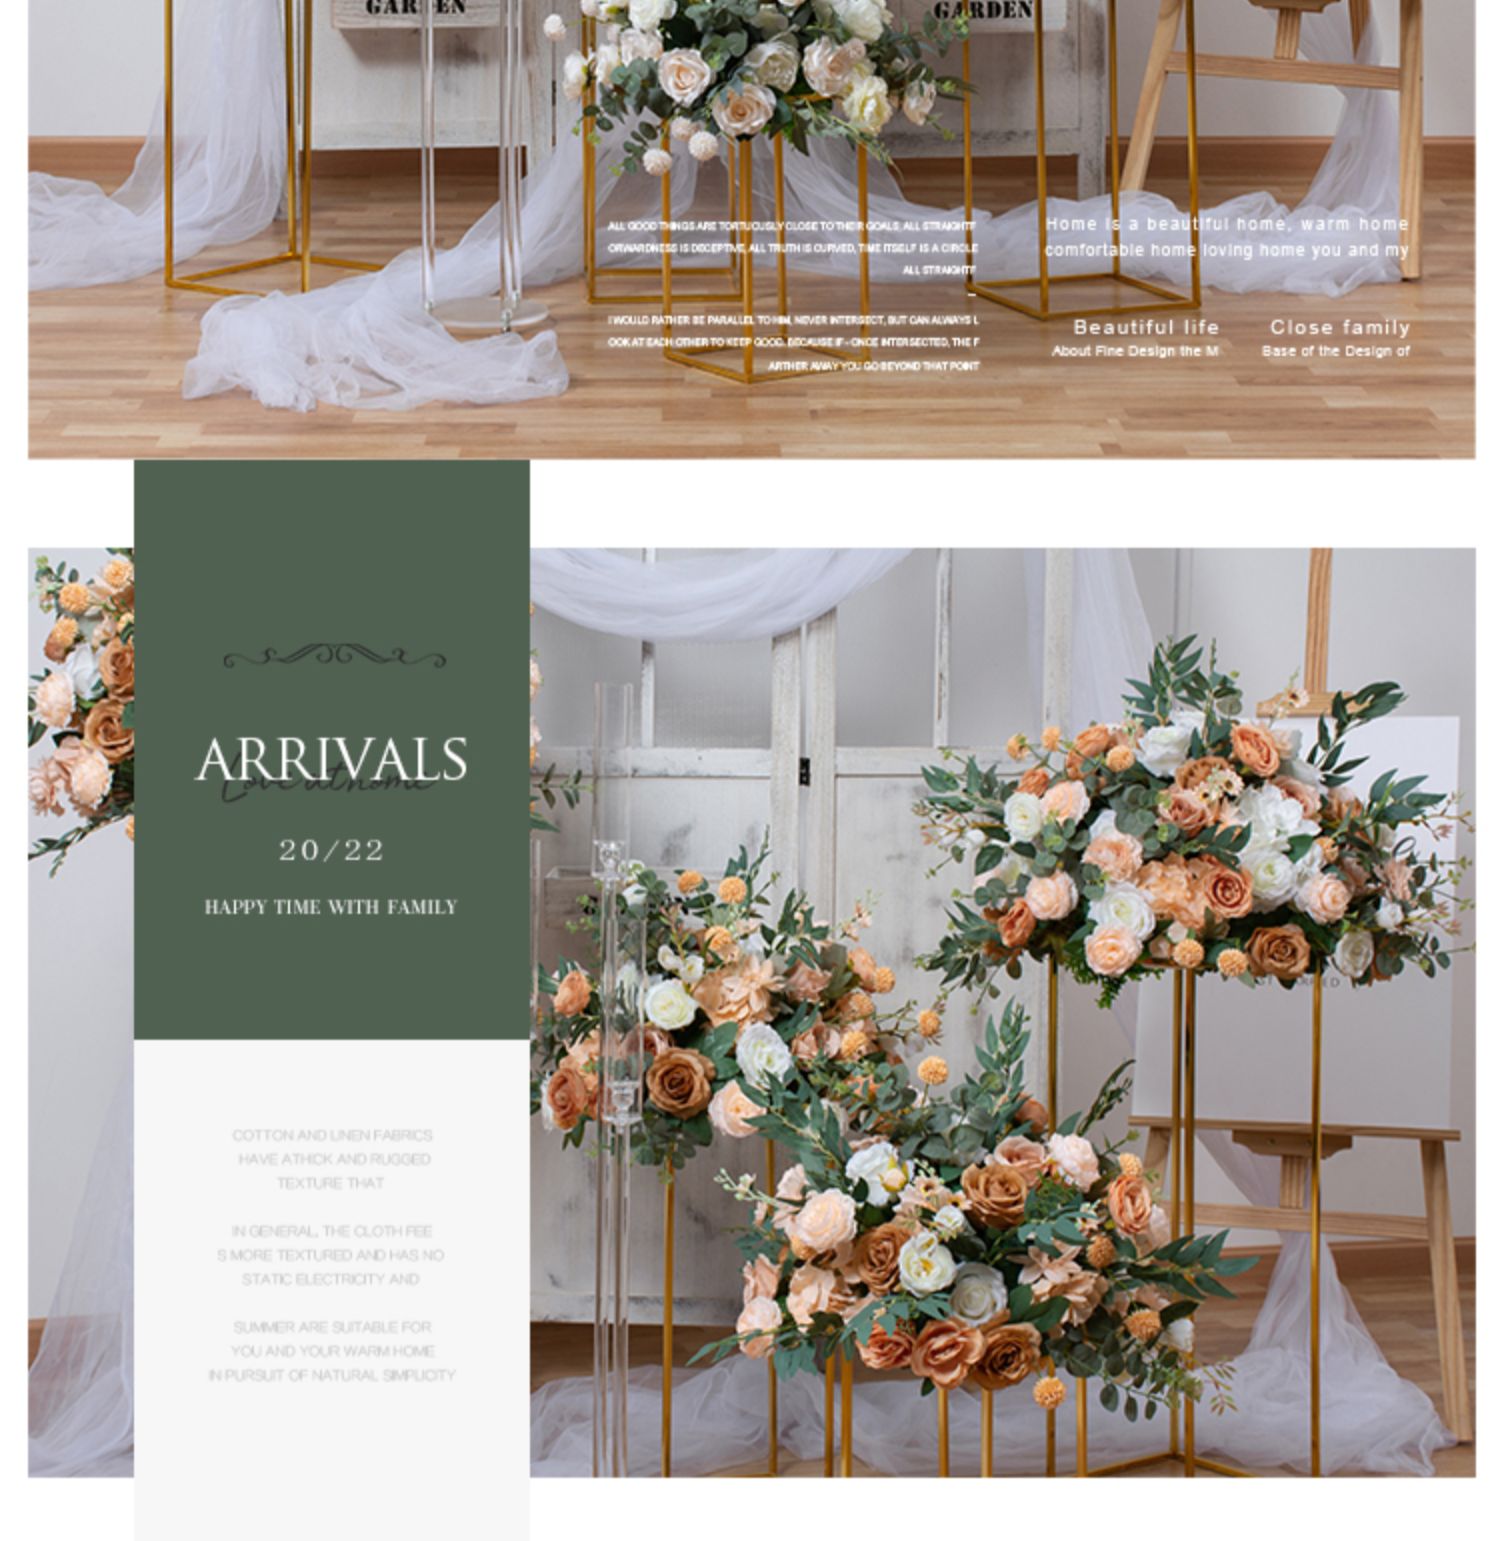
4. Personalize it: Add personal touches to your wedding arch to make it unique and reflective of your personalities. Incorporate flowers, greenery, or other decorative elements that match your wedding colors or theme.
5. Seek professional help if needed: If you're unsure about how to put a wedding arch together or want a more elaborate design, consider hiring a professional wedding decorator or planner. They can guide you through the process and ensure that your arch is assembled safely and securely.
In conclusion, choosing the right wedding arch design involves considering the theme, location, materials, personalization, and seeking professional help if needed. By carefully selecting and assembling your wedding arch, you can create a stunning backdrop that enhances the beauty and significance of your special day.
2、 Gathering the Necessary Materials for Assembly
Gathering the Necessary Materials for Assembly
Putting together a wedding arch can be a beautiful and meaningful addition to any wedding ceremony. To ensure a smooth assembly process, it is important to gather all the necessary materials beforehand. Here is a step-by-step guide on how to gather the materials needed for assembling a wedding arch:
1. Determine the style: Decide on the style and design of the wedding arch that suits your wedding theme and personal preferences. This will help you determine the materials needed.
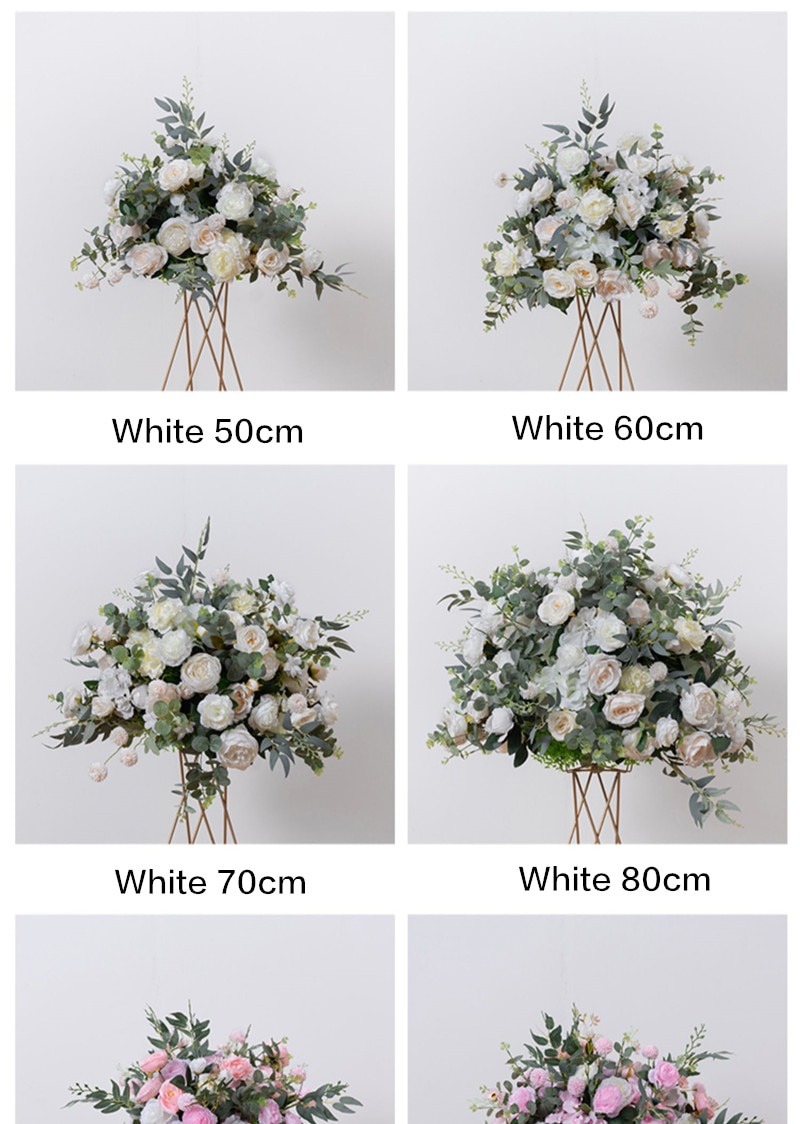
2. Measure the space: Take measurements of the area where the wedding arch will be placed. This will help you determine the appropriate size and dimensions of the arch.
3. Choose the arch frame: Select the type of arch frame you want, such as a metal or wooden frame. Consider the durability, aesthetics, and ease of assembly when making your choice.
4. Select the decorations: Decide on the decorations you want to add to the arch, such as flowers, fabric, or lights. Consider the color scheme and overall theme of your wedding when choosing the decorations.
5. Gather the tools: Collect the necessary tools for assembly, such as a drill, screws, zip ties, or any other hardware required for securing the arch frame and decorations.
6. Purchase or rent the materials: Once you have determined the style, size, and decorations, purchase or rent the materials needed for the wedding arch. This may include the arch frame, flowers, fabric, lights, and any other decorative elements.
7. Prepare the materials: Before assembly, ensure that all the materials are clean, organized, and ready for use. Trim any excess stems from flowers, iron fabric if necessary, and untangle any lights or ribbons.
By following these steps and gathering all the necessary materials beforehand, you will be well-prepared to assemble a beautiful wedding arch that will enhance the ambiance of your special day.
3、 Preparing the Ground for Stability and Support
Preparing the ground for stability and support is an essential step when putting a wedding arch together. This ensures that the arch remains sturdy and secure throughout the ceremony. Here is a step-by-step guide on how to prepare the ground for a wedding arch:
1. Choose the location: Select a suitable spot for the wedding arch, considering factors such as aesthetics, accessibility, and the overall layout of the venue. It should be a flat area with enough space for the arch and the couple to stand comfortably.
2. Clear the area: Remove any debris, rocks, or obstacles from the ground to create a clean and even surface. This will prevent the arch from wobbling or sinking during the ceremony.
3. Measure and mark the placement: Use measuring tape to determine the exact placement of the arch. Mark the spots where the support posts will be inserted, ensuring they are evenly spaced and aligned.
4. Dig holes for the support posts: Use a shovel or post hole digger to dig holes deep enough to provide stability. The depth will depend on the size and weight of the arch, but a general guideline is around 1-2 feet deep.
5. Insert the support posts: Place the support posts into the holes and ensure they are straight and level. You may need to use a level or ask for assistance to ensure accuracy.
6. Secure the posts: Fill the holes with concrete or gravel to secure the support posts firmly in place. This will provide additional stability and prevent the arch from shifting or leaning.
7. Allow time for the concrete to set: Follow the instructions on the concrete packaging to determine the curing time. It is recommended to wait at least 24 hours before attaching the arch to the support posts.
By following these steps, you can ensure that the ground is properly prepared for stability and support when putting a wedding arch together. It is important to consider the latest point of view, which emphasizes the use of eco-friendly materials and sustainable practices. For example, instead of using concrete, you can opt for eco-friendly alternatives like recycled plastic or biodegradable materials to secure the support posts. Additionally, consider using natural elements such as potted plants or flowers to enhance the aesthetics of the arch while minimizing environmental impact.
4、 Assembling the Wedding Arch Frame
Putting together a wedding arch can be a beautiful and meaningful addition to your special day. It serves as a focal point for the ceremony and provides a stunning backdrop for your vows and photographs. Here is a step-by-step guide on how to put a wedding arch together:
1. Gather the materials: Start by collecting all the necessary materials, including the arch frame, connectors, screws, and any decorative elements you plan to add.
2. Lay out the pieces: Lay out all the components of the arch frame on a flat surface. Ensure that you have all the necessary parts and that they are in good condition.
3. Connect the base: Begin by connecting the base pieces of the arch frame. Follow the instructions provided with the frame to securely attach the base sections together.
4. Assemble the sides: Once the base is secure, attach the side pieces of the arch frame. Make sure they are aligned properly and firmly connected to the base.
5. Secure the top: After the sides are in place, attach the top piece of the arch frame. This is usually an arched or curved section that completes the frame structure.
6. Add decorative elements: Once the frame is assembled, you can add any decorative elements you desire. This may include flowers, greenery, fabric draping, or other personalized touches that match your wedding theme.
7. Test stability: Before using the arch for the ceremony, ensure that it is stable and secure. Give it a gentle shake to check for any wobbling or loose connections. Make any necessary adjustments to ensure its stability.
Remember, it's always a good idea to read the instructions provided with your specific wedding arch frame, as assembly methods may vary. Additionally, consider enlisting the help of a friend or family member to make the process smoother and more enjoyable.


Leave your comment